Infographic: How to Setup an Iris Recognition Camera
The iris is the colored ring around the pupil of our eyes which controls its size and regulates the amount of light received. Like a thumbprint, the iris is a unique human physiological characteristic which means there are no two identical patterns on the planet. A human’s iris pattern randomly develops while in utero through a process called morphogenesis, eventually reaching completion at approximately one year of age. However, iris recognition is a biometric modality which captures a photo of the eye pattern, converts the photo to a binary template, and then saves the data to a server for future matching. Iris cameras are used to recognize an individual’s unique identity by analyzing the random, unique patterns which visibly appear inside their eye from a certain distance. It utilizes multiple technologies including optics, statistical conclusions, pattern recognition, and computer vision. If you have bought an iris recognition camera but are not sure how to configure it, follow these 6 steps given below:
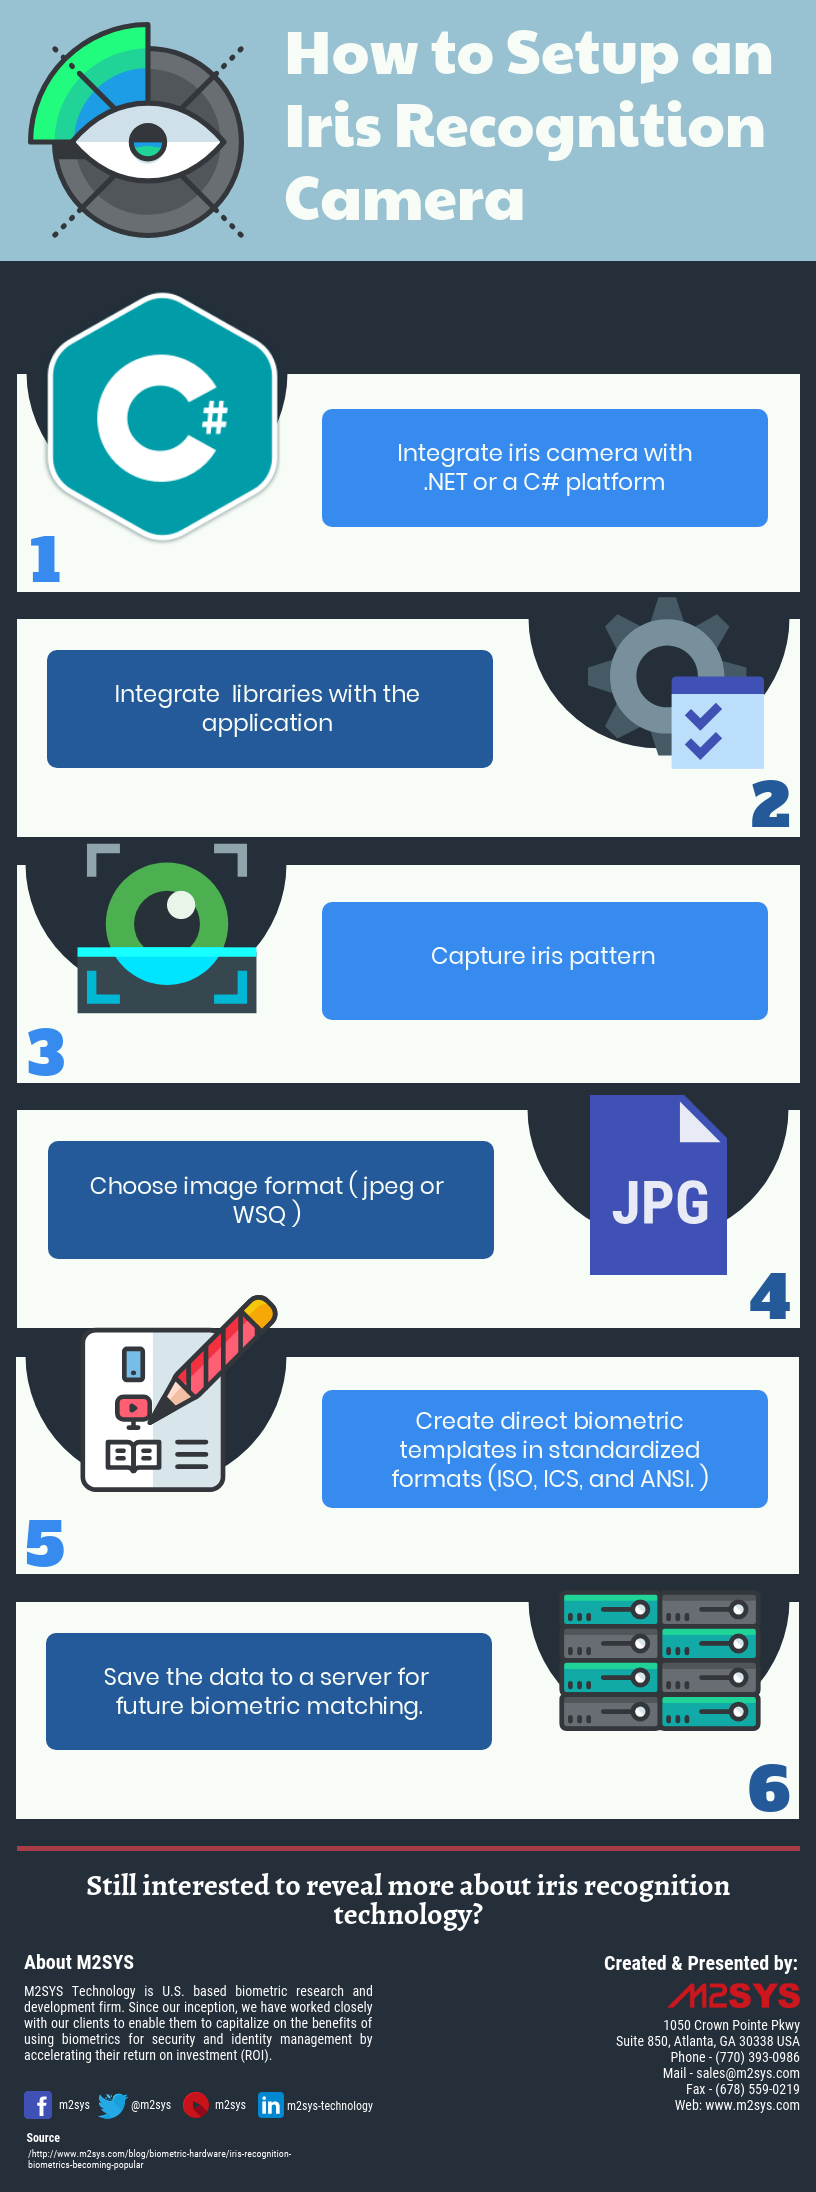
Step: 1 – Integrate iris camera with .NET or a C# platform.
Step: 2 -Integrate libraries with the application
Step: 3 -Capture iris pattern
Step: 4 -Choose image format (jpeg or WSQ)
Step: 5 -Create direct biometric templates in standardized formats (ISO, ICS, and ANSI)
Step: 6 – Save the data to a server for future biometric matching
Following these steps will surely help you to set up an iris recognition camera. For more clear understanding check out this infographic shows how you can set up process of iris recognition camera.


